前置条件与安装
配置开发环境并安装 Canton Network Quickstart。
前置条件与安装
Canton Network quickstart 安装
简介
Quickstart 应用通过提供必要脚手架,帮助你和团队熟悉 CN 应用开发。它是可扩展的起点,用于满足业务需求。熟悉 Quickstart 后,请审视技术选型与应用设计以确定所需变更;技术与设计决策由你决定。
概览
本指南介绍 CN Quickstart 的安装与 LocalNet 部署。我们按经验水平提供快速安装与分步说明。如发现错误请联系 Digital Asset 代表。
路线图
- 安装后探索演示,在示例应用中完成一次业务操作。
- 了解 Quickstart 项目结构,请阅读项目结构指南。
- 在 使用 lnav 调试与排障 中学习日志调试。
- 更多调试信息见 cn-quickstart 仓库 中的可观测性与排障章节。
前置条件
访问 CN-Quickstart GitHub 仓库 为公开;会拉取 Digital Asset 提供的部分制品。
CN Quickstart 为 Docker 化应用,需要 Docker Desktop。建议为 Docker Desktop 分配 8 GB 内存;若容器不健康可酌情增加资源。内存不足时请关闭 Observability。
其他要求包括:
Nix 安装说明
检查本机是否已安装 Nix:
nix --version若返回类似 Nix (Nix) 2.25.2,则已就绪。
macOS 推荐安装:
sh <(curl -L https://nixos.org/nix/install)Linux 推荐安装(Windows 用户应在 WSL 2 中执行本命令及后续所有命令):
sh <(curl -L https://nixos.org/nix/install) --daemon快速安装
若已熟悉前置条件,可使用下列精简步骤;更详细说明见下文。
- 从 GitHub 克隆 and cd into the
cn-quickstartrepository:git clone https://github.com/digital-asset/cn-quickstart.git - Verify that the Docker Desktop app is running on your computer:
docker info - Login to Docker repositories via the terminal:
docker login - cd into the
quickstartsubdirectory:cd quickstart - 安装 Daml SDK from the quickstart subdirectory:
make install-daml-sdk - 配置本地开发 environment:
make setup - When prompted, enable OAuth2, disable Observability, disable TEST MODE, and leave the party hint blank to use the default value.
- Build the application from the
quickstartsubdirectory:make build - In a new terminal window, initiate log collection from the
quickstartsubdirectory:make capture-logs - Return to the previous terminal window to start the application and Canton services:
make start - Optional - In a separate shell, from the
quickstartsubdirectory, run the Canton 控制台:make canton-console - Optional - In a fourth shell, from the
quickstartsubdirectory, begin the Daml Shell:make shell - When complete, 关闭应用 and other services with:
make stop && make clean-all - If applicable, close Canton Console with
exitand close Daml Shell withquit.
分步说明
从 GitHub 克隆
将 cn-quickstart 仓库克隆到本机并 cd 进入。
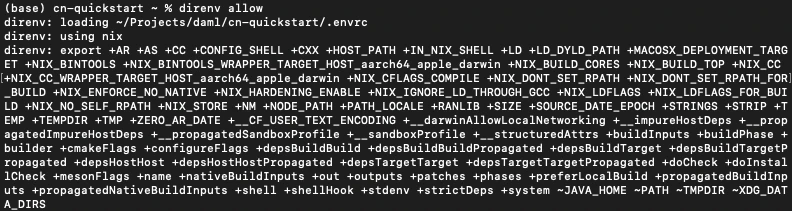
git clone https://github.com/digital-asset/cn-quickstart.git cd cn-quickstart direnv allow
Docker
确认本机 Docker Desktop 正在运行。
在终端登录 Docker 仓库。
docker login
上一条命令需要 Docker Hub 用户名与密码,或个人访问令牌(PAT)。
应返回「Login Succeeded」。
安装 Daml SDK
进入 quickstart 子目录并安装 Daml SDK。
cd quickstart make install-daml-sdk
若出现与 make 相关的错误,请确认当前工作目录。
Daml SDK 体积较大,安装可能需要数分钟。

在 LocalNet 部署验证者
运行 make setup 配置本地开发环境。
关闭 Observability,启用 OAuth2;party hint 留空使用默认值,并关闭 TEST MODE。
% make setup
Starting local environment setup tool...
./gradlew configureProfiles --no-daemon --console=plain --quiet
Enable Observability? (Y/n): n
OBSERVABILITY_ENABLED set to 'false'.

Enable OAUTH2? (Y/n): y
AUTH_MODE set to 'oauth2'.

Specify a party hint (this will identify the participant in the
  network) [quickstart-USERNAME-1]:
PARTY_HINT set to 'quickstart-USERNAME-1'.

Enable TEST_MODE? (Y/n): n
TEST_MODE set to 'off'.

.env.local updated successfully.
可随时再次运行 make setup 修改上述选项。
构建应用。
make build

在新终端窗口中,于 quickstart 子目录启动日志采集。
make capture-logs
完成后回到原终端,启动应用与 Canton 服务。
make start
连接本地 Canton 节点
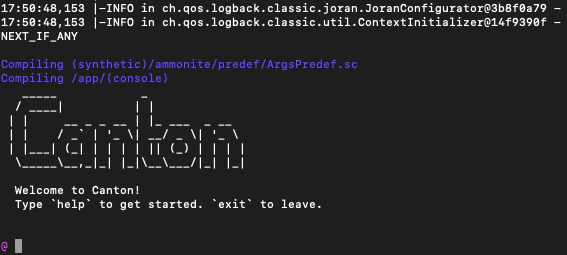
在另一 shell 中,于 quickstart 子目录运行 Canton Console。
make canton-console
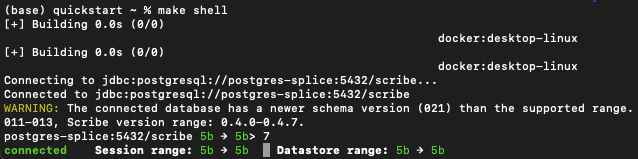
在第四个 shell 中,于 quickstart 子目录启动 Daml Shell。
make shell
关闭应用
⚠️(若将立即继续使用 CN Quickstart,请暂缓执行本节)
关闭 Canton 控制台
完成后在 Canton 控制台终端运行 exit,停止并移除控制台容器。
关闭 Daml Shell
在 Daml Shell 终端执行 quit 停止 shell 容器。
关闭 CN Quickstart
最后关闭应用与可观测性服务:
make stop && make clean-all
开发与每次会话结束时运行 make clean-all 可避免后续构建冲突。
下一步
你已成功安装 CN Quickstart。
下一节「探索演示」将演示示例应用。
将应用连接到 Canton Network
LocalNet 部署连接本地验证者,再连接本地超级验证者(synchronizer)。预发布与生产需连接再接入公共 Canton Network 的验证者。
Canton Network 提供三个 synchronizer 池:生产为 MainNet,生产预发布为 TestNet;开发者多数时间连接开发预发布网络 DevNet。
连接 DevNet 需要接入在 CN 白名单上的 SV 节点。GSF 发布可赞助验证者节点的 SV 列表。访问 DevNet 请联系赞助 SV 获取 VPN 信息。
资源
- Curl
- Direnv
- Docker Desktop
- Docker Hub
- GSF list of SV Nodes
- Digital Asset Docker
- Nix
- Quickstart GitHub repository
- Validator onboarding documentation
- WSL 2
本文由 CC Privacy Club 根据 Canton Network 官方文档(CC-BY-4.0)整理翻译,仅供学习;实现细节以官方最新版本为准。