验证者节点运维
Operate an Exchange 验证者 Node: reward minting, 流量 funding, exchange Party setup, Ledger API 用户, .dar file management, 监控, and major Splice upgrades.
奖励铸造与流量资助
As explained in tokenomics-and-奖励, your 验证者节点 will need 流量 to submit the 交易 to execute withdrawals or accept multi-step deposits. As also explained in that section, the 网络 provides 奖励 that can be used to fund 流量.
另请注意 that every 验证者节点 has an associated validator operator party that represents that 验证者节点’s administrator (docs). The 验证者节点 automatically mints 奖励 for that party. It can further be configured to automatically purchase 流量 using that party’s CC 余额, which includes the minted 奖励.
We 因此 recommend the following setup as a starting point to mint 奖励 and automatically fund 流量:
- Use the validator operator party as your featured
exchangeParty(交易所 Party). Follow exchange-party-setup to get it featured. - treasury-party-setup to create a
treasuryParty(金库 Party)with a 转账预批准(TransferPreapproval) managed by yourexchangeParty(交易所 Party). - Setup automatic 流量 purchases in the validator app.
- 可选: setup auto-sweep from the
exchangPartyto yourtreasuryParty(金库 Party)to limit the funds managed directly by the 验证者节点.
As a starting point for the automatic 流量 purchase 配置, set targetThroughput to 2kB/s
and minTopupInterval to 1 minute, which should be sufficient to execute about one withdrawal or deposit acceptance every 10 seconds.
Please test this with your expected 流量 pattern and adjust as needed.
See this FAQ to measure the 流量 spent on an individual 交易.
设置交易所 Party
Setup the featured exchange party
As explained above in reward-minting-and-流量-funding, we recommend to use the validator operator party
as your featured exchangeParty(交易所 Party). This party is automatically created when you
deploy your 验证者节点.
Thus the only setup step is to get it featured by the SVs:
On DevNet, you can self-feature your validator operator party as follows:
-
Log into the 钱包 UI for the validator 用户, which presents itself as in this screenshot:
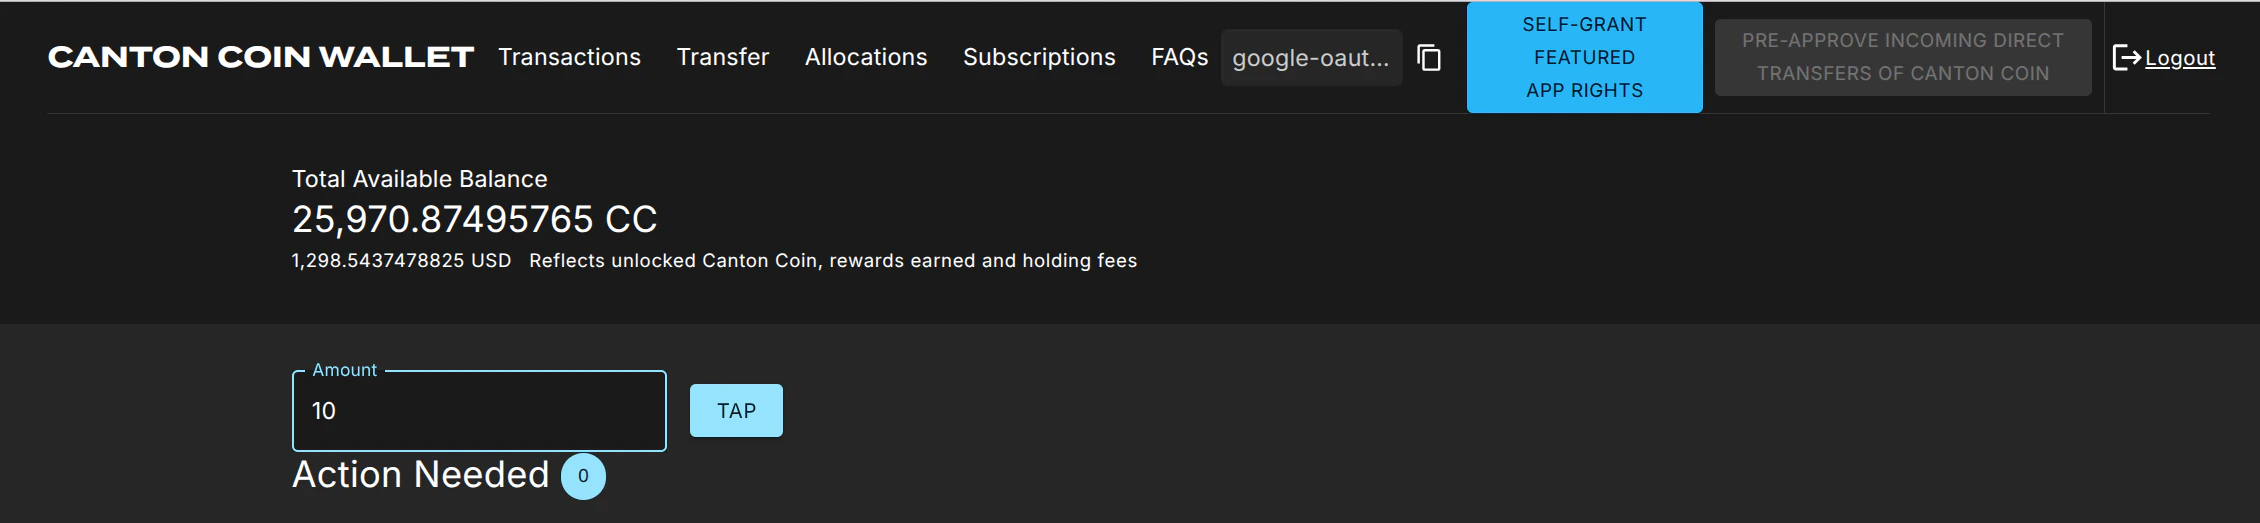
-
Tap 20 $ of CC to ensure that your validator operator party has enough funds to purchase 流量.
-
Click on the “Self-grant featured app rights” button.
-
The button is replaced with a star ⭐ icon once the
FeaturedAppRight合约 has been created for your validator operator party. This may take about 10 seconds.
That’s all. Continue with setting up your treasury party.
On MainNet, apply for featured status for your validator operator party as follows:
- Log into the 钱包 UI for the validator 用户 on your MainNet 验证者节点.
- Copy the party-id of your validator operator party using the copy button right of the abbreviated
"google-oaut.."party name in the screenshot above. - Apply for featured 应用 status using this link: https://sync.global/featured-app-请求/
Wait until your 应用 is approved.
The 验证者节点 will automatically pick up the featured status via the corresponding
FeaturedAppRight 合约 issued by the DSO party for its validator operator party.
On TestNet there is currently no official process, but you should be able to use the same procedure as the one for MainNet.
Setup the treasury party
Setup the treasuryParty(金库 Party) as follows with a 转账预批准(TransferPreapproval) managed by your exchangeParty(交易所 Party):
-
创建 the
treasuryParty(金库 Party)using the 钱包 SDK to create-an-external-party with a key managed in a system of your choice -
Copy the party id of your
exchangeParty(交易所 Party)from the Splice 钱包 UI as explained above, or retrieve it by calling/v0/validator-用户on the 验证者 API. -
Call
/v2/命令/submit-and-waiton the Ledger API to create a#splice-wallet:Splice.钱包.TransferPreapproval:TransferPreapprovalProposal(code) directly with the提供方set to yourexchangeParty(交易所 Party).请注意 setting up this 转账预批准(TransferPreapproval) requires the
exchangeParty(交易所 Party)to pay a small fee of about 0.25 $ worth of CC. The funds for this fee usually come from the validator liveness 奖励 that a 验证者节点 starts minting about 30 minutes after it is created. On DevNet or LocalNet, you don’t have to wait that long: just “Tap” the required funds from the built-in faucet.
测试 the party setup
你可以 test the party setup on LocalNet or DevNet as follows:
- Setup your
exchangeParty(交易所 Party)andtreasuryParty(金库 Party)as explained above. - Setup an additional
testPartyrepresenting a customer. - 转账 some CC from the
testPartyto thetreasuryParty(金库 Party)to simulate a deposit. - Observe the successful deposit by listing 持仓 of the
treasuryParty(金库 Party). - Observe about 30’ later in the Splice 钱包 UI of your validator operator 用户 that the
exchangeParty(交易所 Party)minted app 奖励 for this deposit. It takes 30’, as activity recording and 奖励 minting happen in different phases of a minting round.
设置 Ledger API 用户
Clients need to
authenticate as a Ledger API 用户
to access the Ledger API of your Exchange 验证者 Node.
你可以 manage Ledger API 用户 and their rights using the
/v2/用户/... 端点 of the Ledger API.
你将 need to authenticate as an existing 用户 that has participant_admin rights
to create additional 用户 and grant rights.
One option is to authenticate as the ledger-api-用户 that you
configured when setting up 认证 for your 验证者节点.
Another option is to
log-in to your Splice 钱包 UI for the validator operatory party
and use the JWT token used by the UI.
我们建议 that you setup one 用户 per 服务 that needs to access the Ledger API. This way you can easily manage permissions and access rights for each 服务 independently. The rights required by the 集成 组件 are as follows:
| 组件 | 必需 Rights | 用途 |
|---|---|---|
| Tx History Ingestion | canReadAs(treasuryParty(金库 Party)) | 读取 交易 and 合约 for the treasuryParty(金库 Party). |
| 提现 Automation | canActAs(treasuryParty(金库 Party)) | 准备 and execute 交易 on behalf of the treasuryParty(金库 Party). |
| Multi-Step 充值 Automation | canActAs(treasuryParty(金库 Party)) | 准备 and execute 交易 on behalf of the treasuryParty(金库 Party). |
| Automated exchange Party setup for exchange-integration-测试 | participant_admin and canActAs(treasuryParty(金库 Party)) | 创建 Party and use the treasuryParty(金库 Party) to create its TransferPreapprovalProposal. Hint: grant canActAs(treasuryParty(金库 Party)) to the 用户 doing the setup after allocating the treasuryParty(金库 Party). |
必需 Ledger API 用户 Rights
.dar 文件管理
.dar files define the Daml 工作流 used by the token admins for their tokens.
They must be uploaded to your Exchange 验证者 Node to be able to process
withdrawals and deposits for those tokens.
The .dar files for Canton Coin(CC) are managed by the 验证者 Node itself.
The .dar files for other tokens need to be uploaded by you using the /v2/packages 端点 of the
Ledger API.
See this how-to guide
for more information.
<警告 title=“重要”>
Only upload .dar files from token admins that you trust. The uploaded .dar files define the choices available on active 合约. Uploading a malicious .dar file could result in granting an attacker an unintended delegation on your 合约, which could lead to loss of funds.
</警告>
监控
参见 Splice documentation for guidance on
how to monitor your 验证者节点.
Note in particular that it includes
Grafana dashboards
for 监控 the 流量 usage, balances of local Party (e.g., the exchangeParty(交易所 Party)).
Splice 主版本升级上线
For major protocol changes, the global sychronizer undergoes a Major
Upgrade Procedure.
The schedule for these upgrades is published by the 超级验证者(SV)
and also announced in the #validator-operations slack channel.
As part of this procedure, the old 同步器 is paused, all validator operators create an export of the state of their validator, and deploy a new validator connected to the new 同步器 and import their state again.
The procedure requires some experience to get it right, so it is highly recommended to run nodes on DevNet and TestNet so you can practice the procedure before you encounter it on MainNet.
From an 集成 perspective, there are a few things to keep in mind:
- A major upgrade only preserves the active 合约 but not the update history. In particular, you will not be able to get 交易 from before the major upgrade on the update 服务 on the Ledger API of the newly deployed 验证者节点.
- 偏移 on the upgraded 验证者节点 start from
0again. - The update history will include special import 交易 for the
合约 imported from the old 同步器. They all have 记录时间
0001-01-01T00:00:00.000000Z, and represent the creation of the imported 合约.
运行手册
我们建议 to roll-out the upgrade as follows:
-
Wait for the 同步器 to be paused and your node to have written the migration dump.
-
Open the migration dump and extract the
acs_timestampfrom it, e.g., usingjq .acs_timestamp < /domain-upgrade-dump/domain_migration_dump.json. This is the timestamp at which the 同步器 was paused. -
Wait for your Tx History Ingestion to have caught up to 记录时间
acs_timestampor higher. 请注意 you must consume 偏移 checkpoints to guarantee that your Tx History Ingestion advances pastacs_timestamp. -
停止 your Tx History Ingestion 组件.
-
Upgrade your validator and connect it to the new 同步器.
-
Follow the shortened version below of the procedure for restoring a 验证者节点 from a 备份 to determine the 偏移 from which to restart your Tx History Ingestion:
-
Retrieve the
synchronizerIdof the last ingested 交易 from the Canton 集成 DB. -
Log into the Canton Console of your 验证者节点 and query the 偏移
offRecoveryassigned to the ACS import 交易 at time0001-01-01T00:00:00.000000Zusingdef parseTimestamp(t: String) = { val isoFormat = java.time.format.DateTimeFormatter.ISO_INSTANT.withZone(java.time.ZoneId.of("Z")) isoFormat.parse(t, java.time.Instant.from(_)) } val synchronizerId = SynchronizerId.tryFromString("example::1220b1431ef217342db44d516bb9befde802be7d8899637d290895fa58880f19accc") // example val tRecovery = parseTimestamp("0001-01-01T00:00:00.000000Z") val offRecovery = participant.parties.find_highest_offset_by_timestamp(synchronizerId, tRecovery)Alternatively, you can use
grpcurlto query the 偏移offRecoveryfrom the 命令 line as shown in the example below:grpcurl -plaintext -d \ '{"synchronizerId" : "example::1220be58c29e65de40bf273be1dc2b266d43a9a002ea5b18955aeef7aac881bb471a", "timestamp": "0001-01-01T00:00:00.000000Z"}' \ localhost:5002 \ com.digitalasset.canton.admin.participant.v30.PartyManagementService.GetHighestOffsetByTimestamp若你 use 认证 for the Canton Admin gRPC API, then you need to add the appropriate 认证 flags to the
grpcurl命令 above. -
配置 the Tx History Ingestion 组件 to start ingesting from 偏移
offRecovery. -
Restart the Tx History Ingestion 组件.
-
Once you have completed these steps, the 集成工作流 will continue.
本文由 CC Privacy Club 根据 Canton Network 官方文档(CC-BY-4.0)整理翻译,仅供学习;实现细节以官方最新版本为准。